How to Get 2APL Source Code
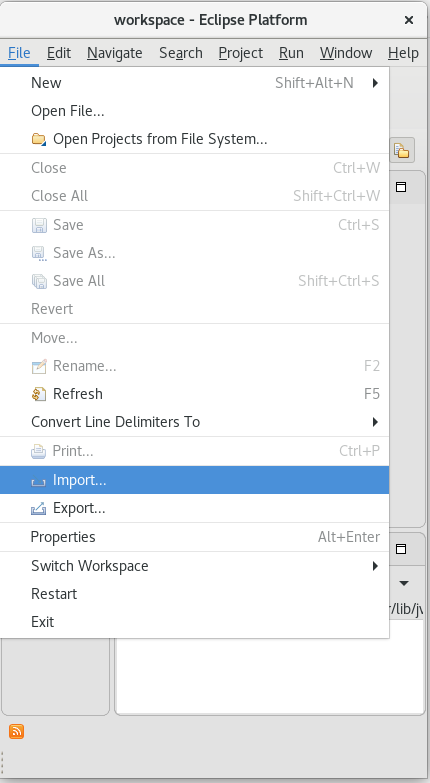
- Run Eclipse and import the 2APL project, using File > Import
- From the opening window, expand the folder called Git and select Projects from Git (with smart import)
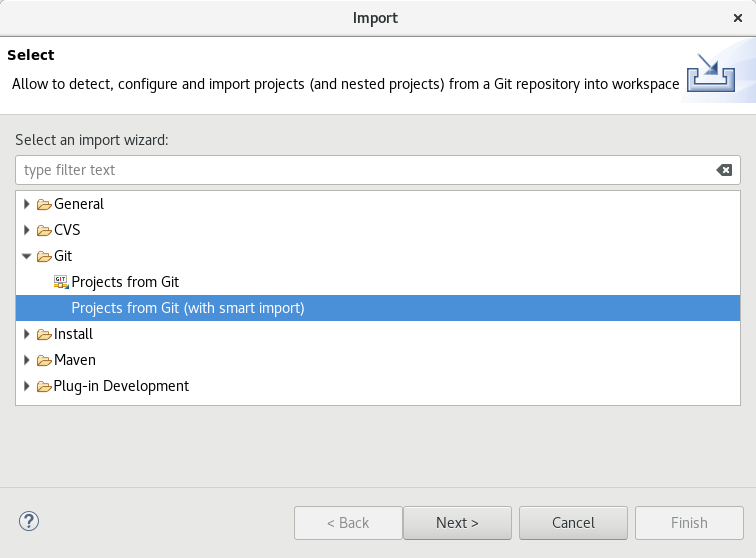
- Click Next and select Clone URI in the resulting screen. Click Next again
- Copy and paste the Git URI (https://bitbucket.org/goldenagents/2apl.git) into the URI field. Eclipse should automatically fill out all other necessary fields.
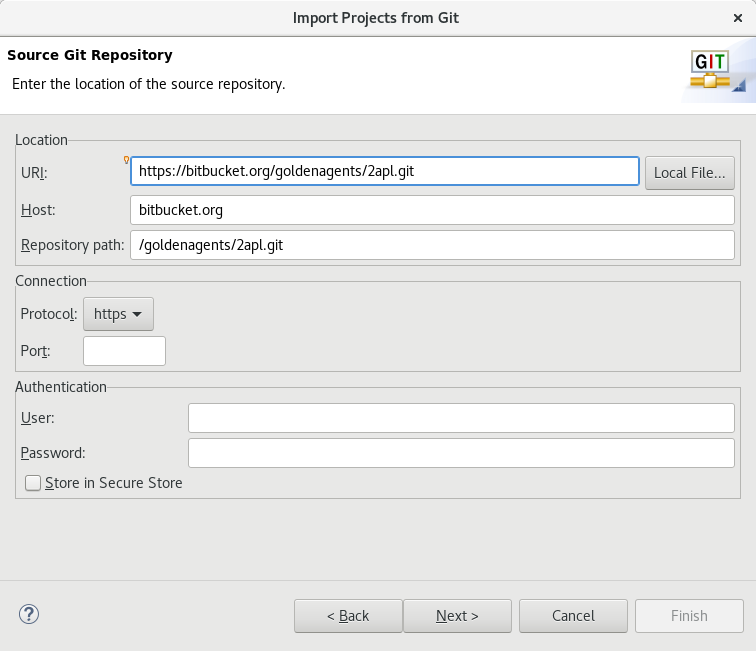
Click Next - In the next screen (Branch Selection) only one item should be shown: Master. Make sure the checkbox in front of it is checked, and click Next
- In the next screen (Local Destionation) you can leave the default settings as they are, or change them to your liking. However, keep Initial branch set to master. Once done, click Next
- Eclipse will now import the sources. Wait until Eclipse is done. You should not have to change anything here, but if you see the folder 2apl selected, with the text Maven in the column called Import as to the right, everything is looking fine.
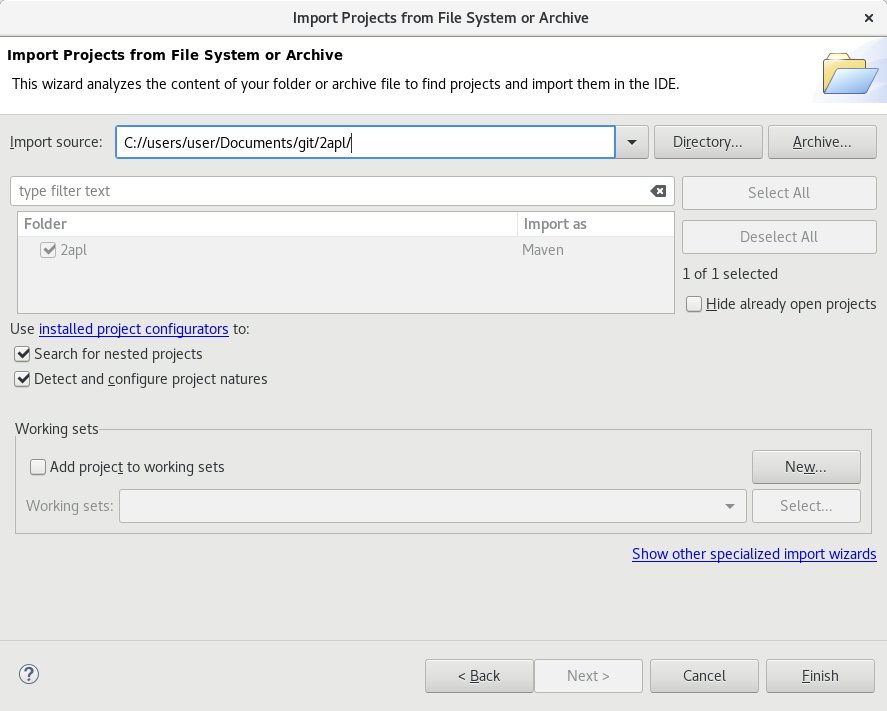
Click Finish without changing any of the settings - On the left, you should have a view called Project Explorer. Iteratively expand the boxes to show the file 2apl/src/main/java/nl/uu/cs/is/apapl/APAPL.java and double click it to open it. This is the entry point of this application.
- Once the file is opened, click the Run-button (green play icon in the top bar). This will start the application.
Troubleshooting
2APL no longer works in versions of Java more recent than version 9. If you are seeing the following error message upon opening a MAS file, your Java version is too recent to run this application:*
Exception in thread "AWT-EventQueue-0" java.lang.ClassCastException: java.base/jdk.internal.loader.ClassLoaders$AppClassLoader cannot be cast to java.base/java.net.URLClassLoader
	at nl.uu.cs.is.apapl.apapl.env.EnvLoader.fromJarFile(EnvLoader.java:49)
	at nl.uu.cs.is.apapl.apapl.APAPLBuilder.buildMas(APAPLBuilder.java:104)
	at nl.uu.cs.is.apapl.gui.GUI.loadMas(GUI.java:196)
	at nl.uu.cs.is.apapl.gui.GUI.openFile(GUI.java:440)
	...
To solve this issue, make sure your JDE or JRE is version 1.8 at the latest. Make sure both the compiler and the runtime environment use version 1.8. Using a newer SDK with backward compatibility will not solve this issue.
After JDK 1.8 is installed, setting JDK 1.8 to run this application can be done in Eclipse using these steps:
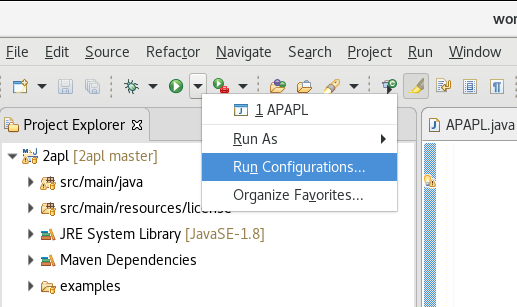
- Click the downward arrow next to the execute button in Eclipse, and select Run configurations...:
- Go to the JRE tab. If your configuration is set op correct, the Project execution environment will show a Java version between 1.6 and 1.8. Since you are having this issue, it will likely show version 1.9 or higher. Try to find a version that contains 1.8 in the Execution environment:

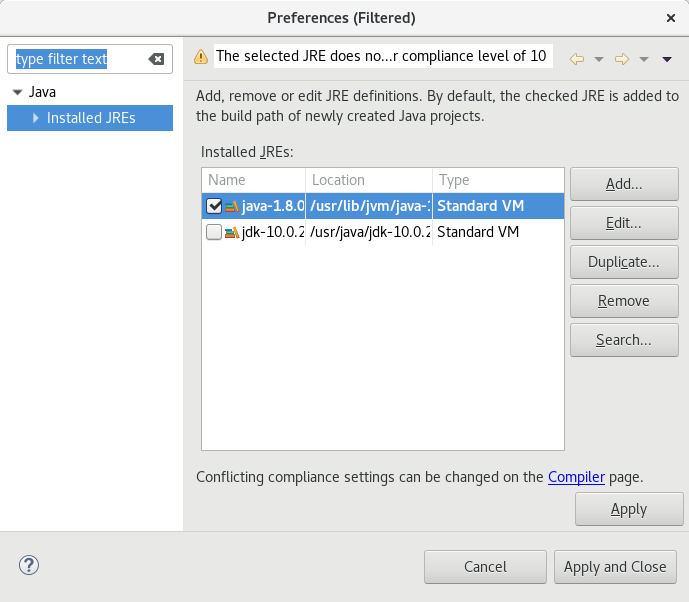
If no such option exists, a few more steps are required:- select Alternate JRE and click the button Installed JREs...
- If a there exists an option for 1.8 in the list of installed JREs, select it:
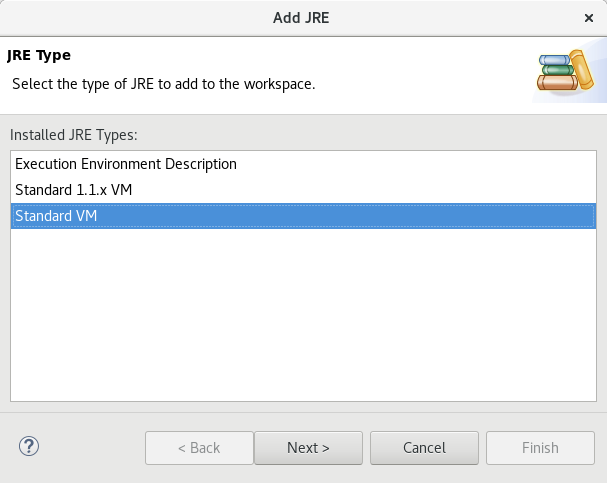
If not: - Click the Add button
- Select Standard VM and click Next >:
- Click Directory and navigate to the directory where Java 1.8 is installed. This will involve some trial and error, but on most Windows systems, a directory containing the words Java and 1.8 in its name can be found in either C://Program Files (x86)/java or C://Program Files/java. Select it and click Ok
- If you have found the right directory, the white box called JRE system libraries: will have filled up with a list of jar files:
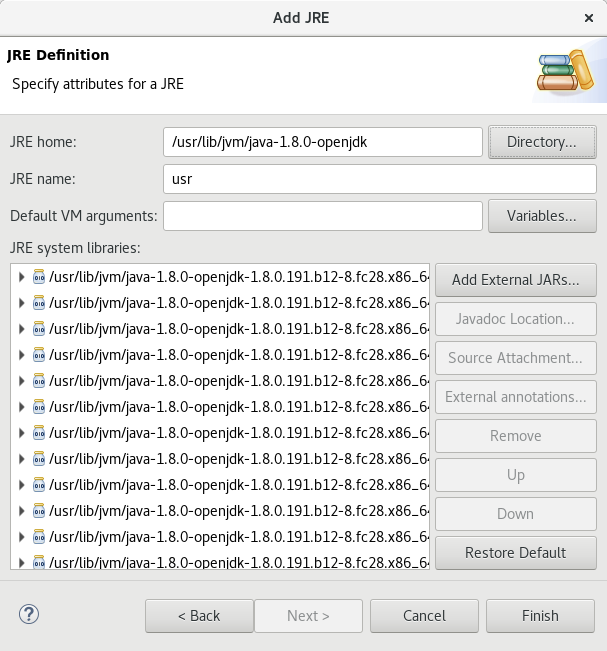
If not, try again to find the right folder. If things get frustrating, Google may be of able, as your usecase may no longer be the default.
* The problem is causes by tighter security in Java 9 and later. In order to execute a MAS file, a JAR containing a Java description of the required environment is loaded in 2APL, which requires updating the classpath to include the class files in the JAR, which is no longer possible in Java 9+. If you read this far and think you can solve this issue, we are willing to accept pull requests.